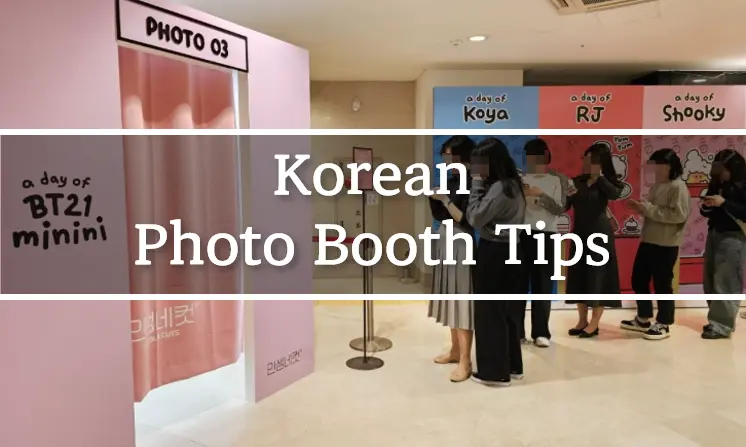
Korean Photo Booth Tips: How to Pay, Pose, and Save Your Photos
Korean photo booth tips come down to three things: carry a little cash as a backup, opt in to QR downloads before you start shooting, and put the props back when you’re done. Most booths are unmanned and open around the clock, so nobody will walk you through the first session. A few minutes of preparation saves you from a rejected card or a paper strip with no digital copy.
Korean self-photo studios such as Life Four Cuts, Haru Film, Photogray, and Photoism run on the same basic idea. You pay at a kiosk, pick a frame, and take a series of shots in a small booth. You then choose your favorites and print the strip. Props and styling corners are usually set up outside the booth.

Before You Walk In
Cash and cards
Cards are widely accepted. Korea JoongAng Daily’s overview of the main brands says booths normally take cash or credit cards, and some stores have change machines that break larger bills. It’s less clear whether a particular machine will accept a card issued outside Korea. Some travelers report declines, and I couldn’t find an official list of which booths do or don’t accept foreign cards.
A few 1,000-won bills or a 5,000-won note covers a basic session at most places. Prices differ by brand and frame. A standard Life Four Cuts session has been listed at 4,000 won on Expedia’s ticket page, and collaboration frames usually cost more. The screen shows the final price before you pay.
Check the bill slot
Some booths take only certain bills or coins, so look at the payment panel before you feed anything in. If a store has a change machine, break your larger bills first.
Decide on poses ahead of time
The shutter timer runs quickly, and the exact interval varies by booth, so nobody can give you a reliable number of seconds. Agree on two or three poses with your group before the first shot, including who stands where. A quick fix is to hold one pose through the whole countdown, then switch for the next.
How a Session Works
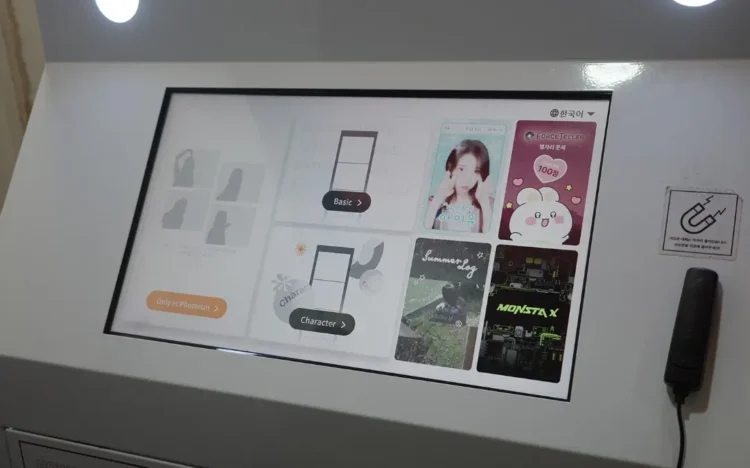
The screens differ slightly by brand, but the order is similar everywhere. Many booths have English instructions.
- Put on props and fix your hair before you pay. The session timer may start as soon as you begin.
- Choose a frame layout and the number of prints.
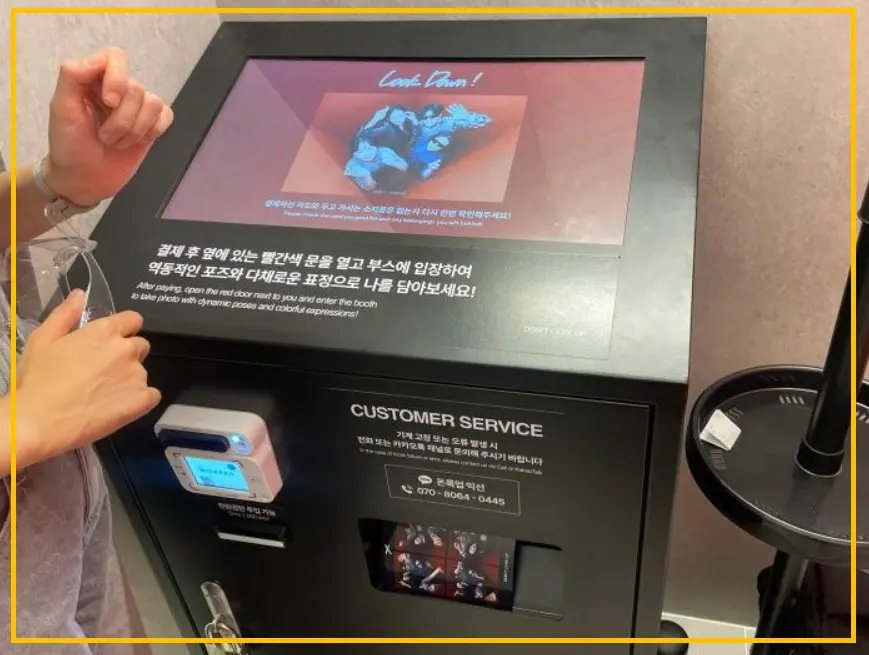
- Pay by card or cash.
- Agree to the QR code option if the screen asks. More on that below.
- Take the photos when the countdown starts. Some booths use a remote button, others fire automatically.
- Pick your favorite shots from the ones taken. The screen tells you how many you need to choose.
- Choose a filter and a frame color, then wait for the strips to print.
Some booths offer a retake. For example, a Life4Cuts location in the US lists one retake, though that is a US franchise listing and Korean stores may differ. If the screen offers it, use it for a blurry first attempt.

Getting the Digital Photos and Video
The QR code is how you keep the photos on your phone. Scan the code printed on your strip and you can download the photos and also a short video of the shoot, as the Stripes Korea travel guide describes it. It’s worth choosing a shop that provides the QR option along with the print.
On Life Four Cuts, the Expedia listing says you need to agree to the QR option on the right side of the screen to receive digital files. On Life Four Cuts, the Expedia listing says you need to select the QR option on the right side of the screen to receive digital files. Check that option before moving on.
Download time limits are short. The same Expedia listing says the Life Four Cuts QR code is valid for 3 days from the photo date. Other brands may set different limits, so scan the code and save the files before you leave the area.

Props and Booth Manners
Props such as headbands, sunglasses, and plush hats are usually free to use, and Photo Signature is known for a large selection. Put them back where you found them, since the next group walks into whatever you leave. If a store has hair tools like a flat iron, turn them off when you finish.
Because these places are unmanned, a lost item is harder to chase down. Look for a contact number or social media account posted in the store, and double-check your bag and your phone before you leave.
You might also like:
- Korean Drinking Games for Foreigners: Easy Rules for Your First Night Out
- What Not to Do in South Korea: Etiquette and Taboos Foreigners Should Know
- Everyday Life in Korea: 10 Things That May Surprise Foreigners
If Something Goes Wrong
- A card gets declined: Try once more, then switch to cash rather than testing different cards at the machine.
- The code won’t scan: Scan it in good light, and try a different phone camera app if the first one doesn’t pick it up.
- The booth ran out of paper or froze: Check the store for a service contact before you leave. Keep your receipt or a screenshot if the machine gives one.
Each brand has its own quirks, and the machines get updated, so a booth you use next week may not match this walkthrough exactly. The screen is the final word on price and what comes with it. Select the QR download option, save your files that same night, and try a second brand if you have time.